Sourdough starter
by
- Other
- Easy
- 1
- 15 minutes
PT15M
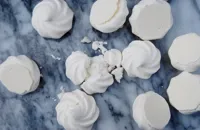
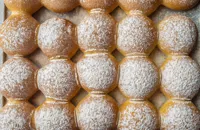
This sourdough starter recipe will hopefully bring you boundless joy in the form of a lifetime of delicious bread – just make sure you remember to feed it. Although it may not hold the glamour of a fancy bit of kitchen kit or some pretty macarons, this will make a fantastic gift for the foodie in your life who wants to tackle the art of sourdough baking.
Ingredients
Sourdough starter
- unbleached white flour
- water, tepid
Method
1
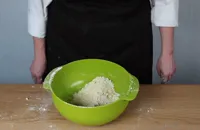
Begin by pouring 300g of flour into a bowl and mix with 300ml of tepid water. Cover loosely with a tea-towel and leave in warm spot in the kitchen
2
Keep an eye on things and stir every now and then, especially if the water and flour starts to separate. After a few days, hopefully, you will begin to see bubbling on the surface and the mix will begin to have a slightly sour smell. This may take up to a week though
3
Once you begin to see bubbles, pour roughly half of the mixture away and replace with more flour and water, approximately 150g/ml of each
4
Continue this on a daily basis, pouring half away down the sink and replacing with fresh flour and water. This is known as the ‘feeding’ stage, where you want to get the starter up to full strength. Again, time is also the key and factors may vary depending on the environment in your kitchen. Stick with it though
5
After a week of feeding, I would say that it is now safe to decant into a jar. The starter itself should be quite lively and after tasting, should be slightly fizzy and sour
6
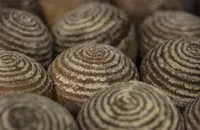
At this stage, you can also begin to divide off the waste element into other jars for presents. Start off with small amounts, say adding 50g of the mother culture and feed with the same 150g/ml of both flour and water
7
Once you get going, be aware of the size of the jars you are using. Ordinary-sized Kilner jars can hold 500g, so you want to keep at around the 300g mark. Any more and your starters will very likely rise up and seep out of the jars. The carbon dioxide they belch will also make the lids pop when you open them, so beware
8
To give as gifts, ensure that each jar comes with a set of instructions to feed prior to using for baking, using the same method of pouring half away and adding the flour and water back
9
To use for baking a sourdough loaf, begin the day before by making your ‘sponge’, which helps to enhance the yeast in the starter further (feel free to print these instructions and give alongside your starter!)
10
Place 225g of unbleached strong white bread flour in a bowl and add 350ml water and 125g of sourdough starter. Roughly mix it altogether and leave overnight
11
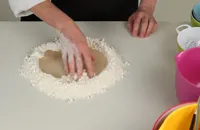
In the morning, mix in another 225g of flour and add 2–3 tsp of salt to the sponge. Remove from the bowl and knead by hand. The mix will feel quite wet, so it is useful to lightly oil the surface you’re working on to prevent too much sticking. Resist adding more flour though
12
Knead for a good 5–10 minutes, so that the dough becomes smooth, then leave to rest for 10 minutes
13
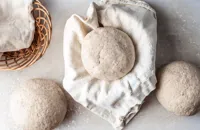
Knead again for another 5 minutes or so and form into a tight ball by pulling out the dough and pushing it down into the centre with the palm of your hand. Place on a floured tray, dust with some flour and cover with a damp tea-towel
14
Now is the time to leave it to prove and rise in a warm place, which can take 3–4 hours, as the wild yeast will work slower. The ball may flatten out a touch too but don’t worry as it should spring up in the oven
15
Meanwhile, preheat your oven to 250°C/gas mark 9.5
16
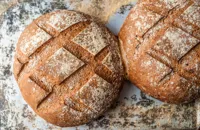
After proving, when the dough has doubled in size, slash the top of the dough with a sharp knife and place in the oven on the middle shelf. Bake for 10 minutes and then reduce to 220°C and continue to bake for another 30 minutes. A good tip to help the crust is to quickly spray some water into the oven to create some steam before putting the loaf in
17
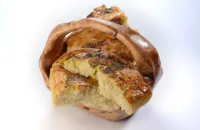
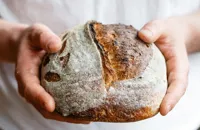
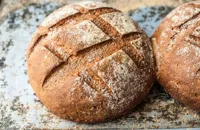
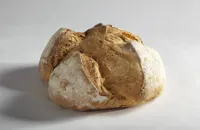
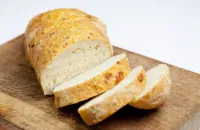
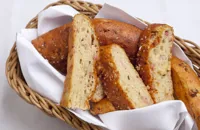
Once cooked, it should have a firm dark crust and make a hollow sound when tapped on the bottom. Leave to cool completely before getting stuck in. The bread should be quite moist and chewy, with various-sized holes in the crumb
Discover more:

Go to Comments
Sourdough starter