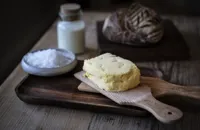
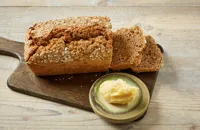
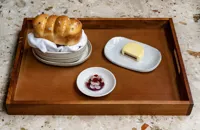
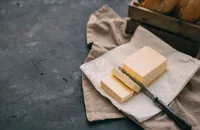
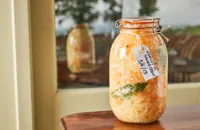
Homemade cultured butter
- Other
- Easy
- Makes approx. 650g of butter
- 45 minutes
PT45M
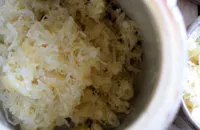
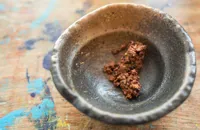
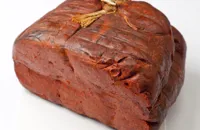
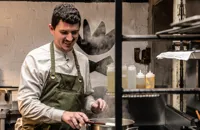
Making butter at home is far easier than you might think. This cultured butter recipe from Kuba Winkowski requires just three ingredients and, once you’ve let the cream and yoghurt gently ferment for two days, less than an hour of hands-on prep. Tangy, salty, creamy and incredibly moreish, it’s far better than anything shop-bought and will elevate a simple slice of toast into something truly special. It's also incredibly easy to add flavourings into the butter, such as garlic (or wild garlic when in season), spices or herbs. Take a look at our compound butter recipe collection for more ideas on how you can flavour your cultured butter.
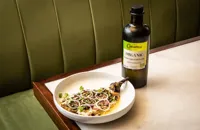
The quality of the double cream you use to make this butter will have a huge impact on the final flavour, so it's worth seeking out the very best.
Ingredients
- 900g of double cream, the best quality you can find
- 100g of natural yoghurt
- 15g of sea salt
Equipment
- Stand mixer
- Metal scraper
Method
- 900g of double cream, the best quality you can find
- 100g of natural yoghurt
- 15g of sea salt

Go to Comments
Homemade cultured butter